reel
projects
thesis film
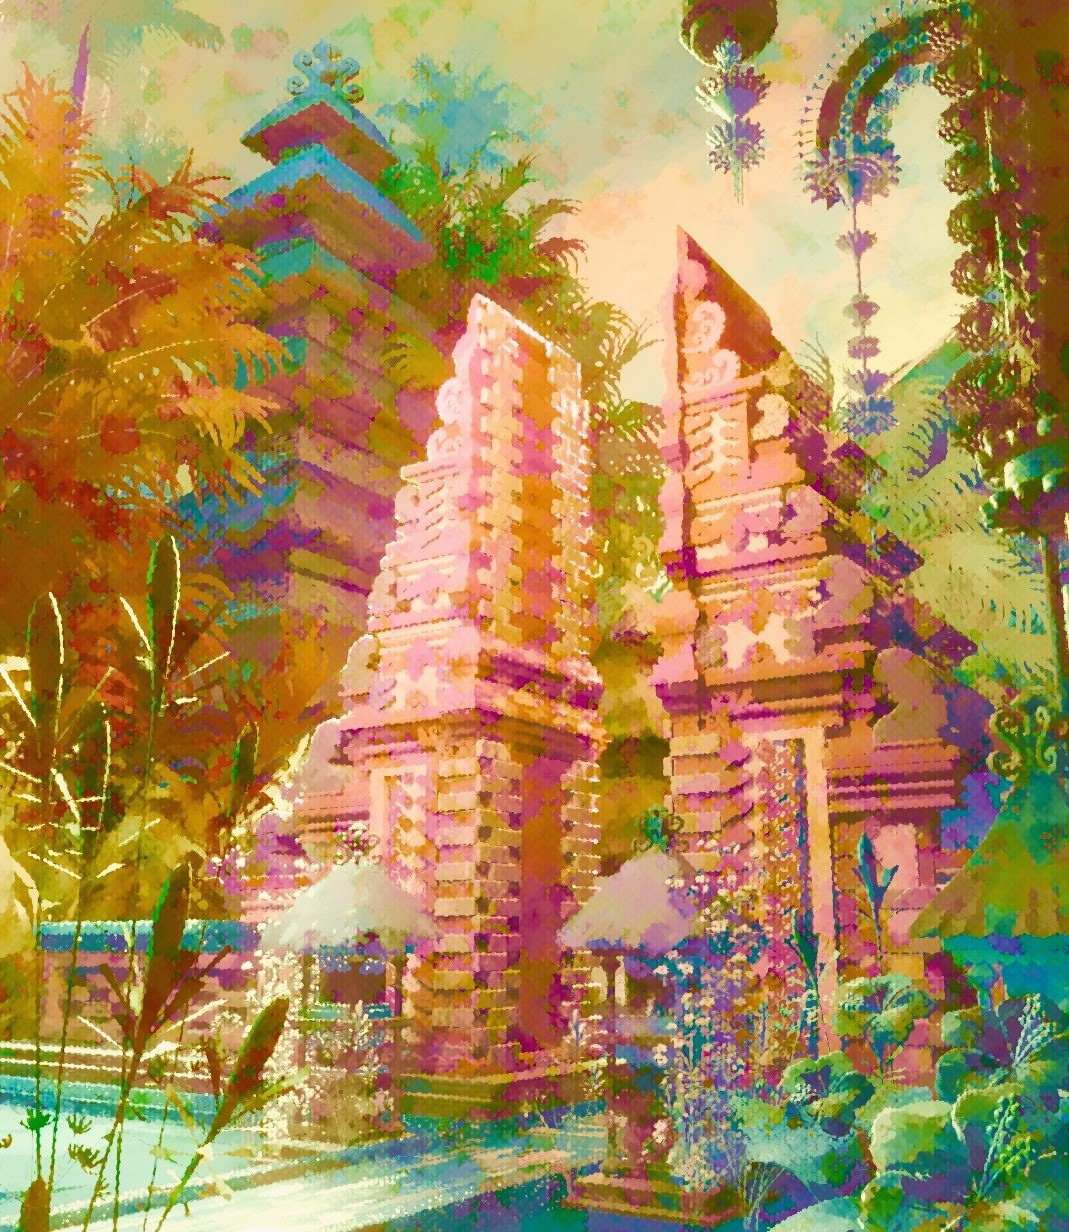
illustration
about
reel
projects
thesis film
illustration
about
fun explorations
more projects >>
↑
Back to Top